🎨 Technique Tuesday | Stretch Your Cover-Plate!
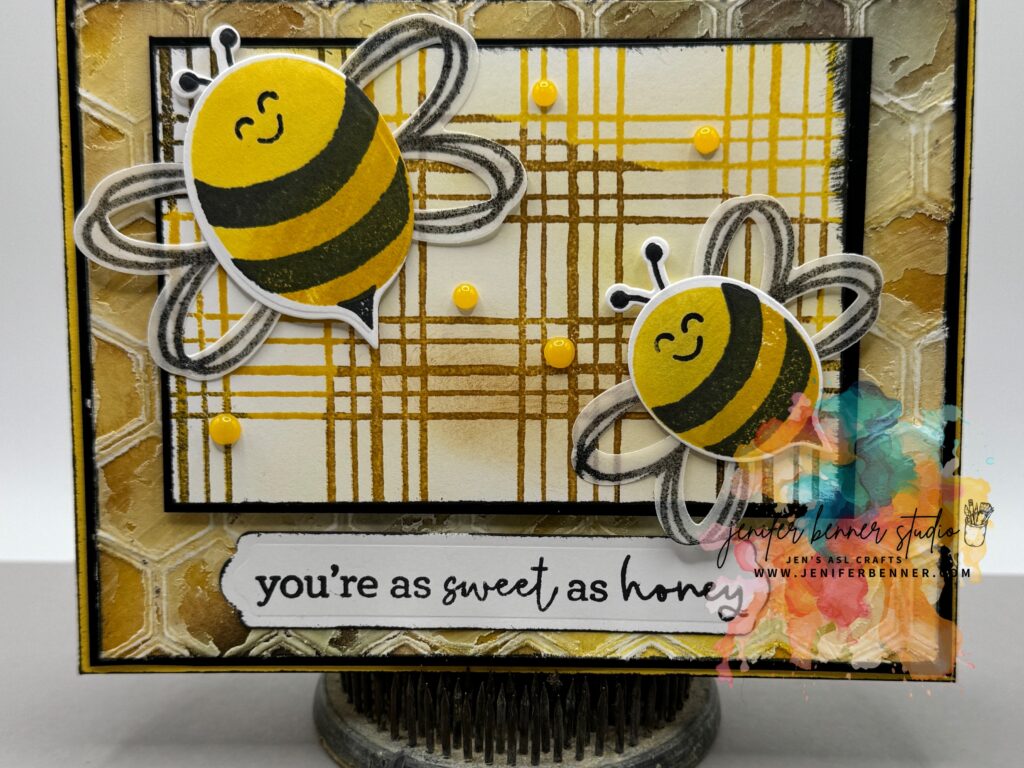
Hey crafty friends! 👋Welcome to Technique Tuesday—where we explore a new crafty technique together each week, this space is for YOU! 💖 Today’s featured technique is called “Stretch Your Cover-Plate”. This one’s all about layers, texture, blending, and adding real dimension to your background. And yes—there’s a bee! 🐝 (Originally inspired by the SplitcoastStampers #TLC1041 challenge!) This technique is all about layering, texture, and giving your die-cuts or embossing folders a whole new vibe. We’re blending, distressing, heat drying, and popping up some beautiful bee-themed goodness.
✂️ What You’ll Learn:
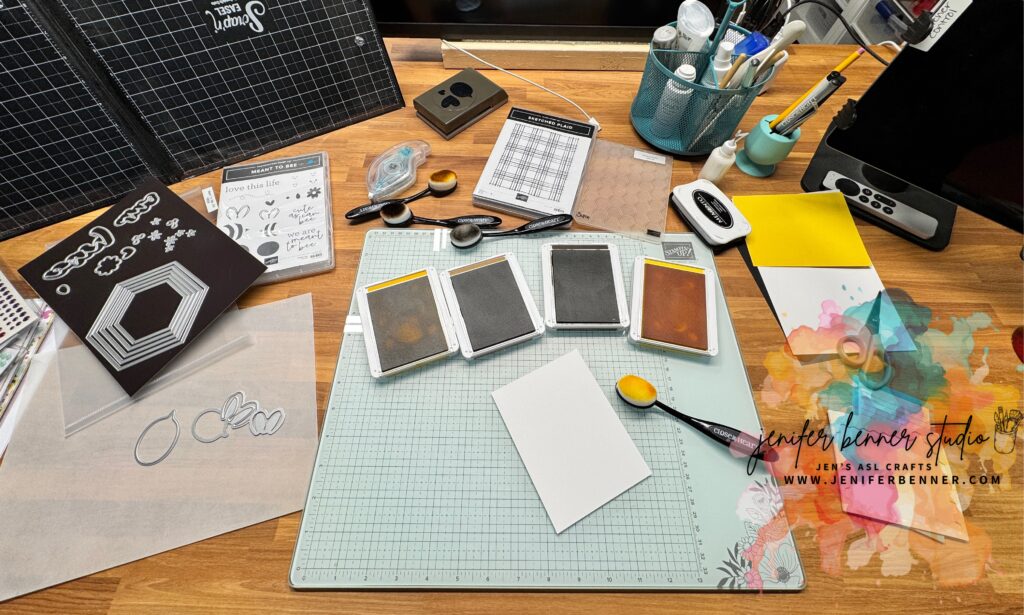
🧰 Supplies You’ll Need:
📦 Looking for tools? Check my Amazon Craft Tools Page for studio favorites! This technique is called Stretch Your Cover-Plate (#TLC1041 and that came from the SplitCoastStampers!
🌻 Measurements:
📌 Supplies:
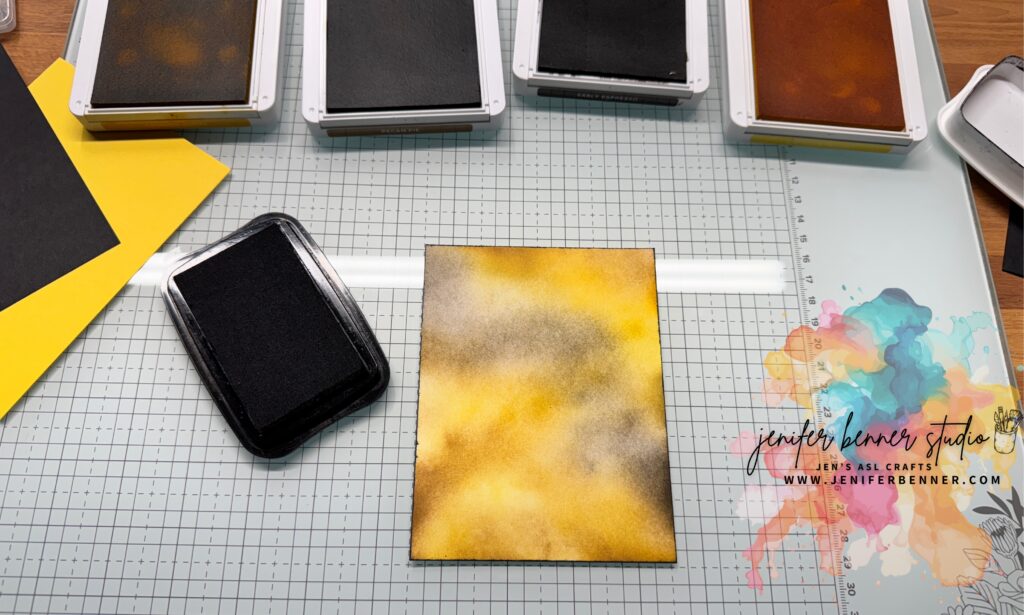
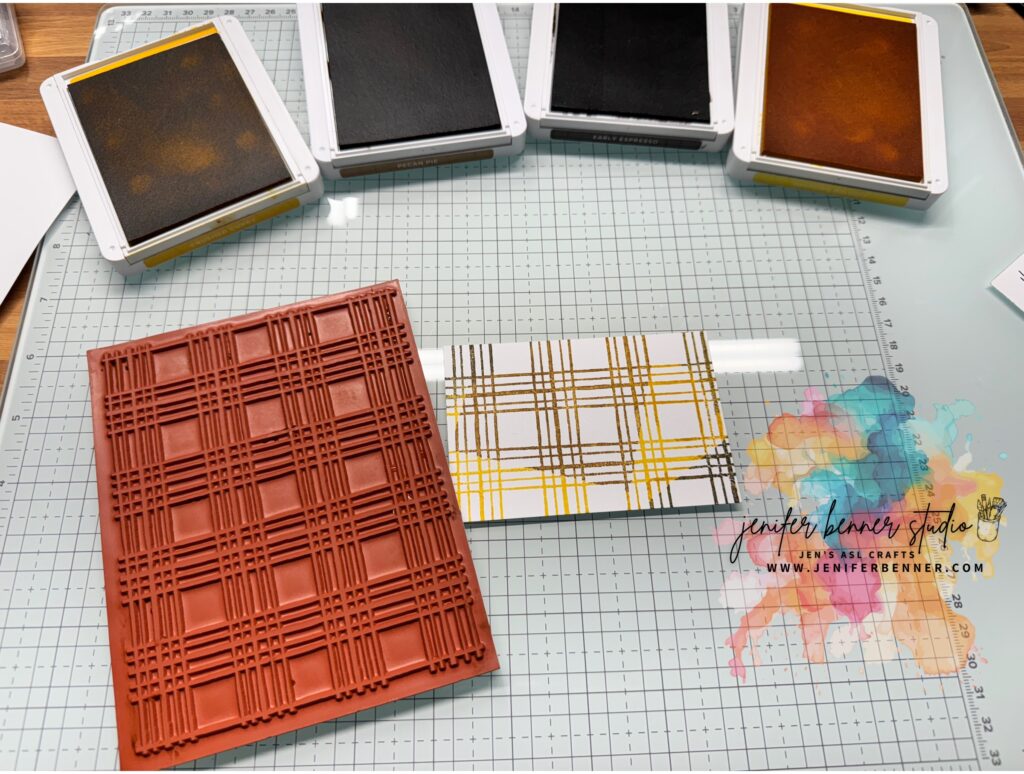
🛒 Additional tools not provided by my main craft supplier can be found on my Amazon Storefront – be sure to check there! 🌈 Instructions:Ink Edges: Distress ink the edges of ALL mats and your label using Tuxedo Black Memento ink. Ink Blending: With blending brushes, softly blend Daffodil Delight, Crushed Curry, Pecan Pie, and Early Espresso on Mat #3 to your liking.
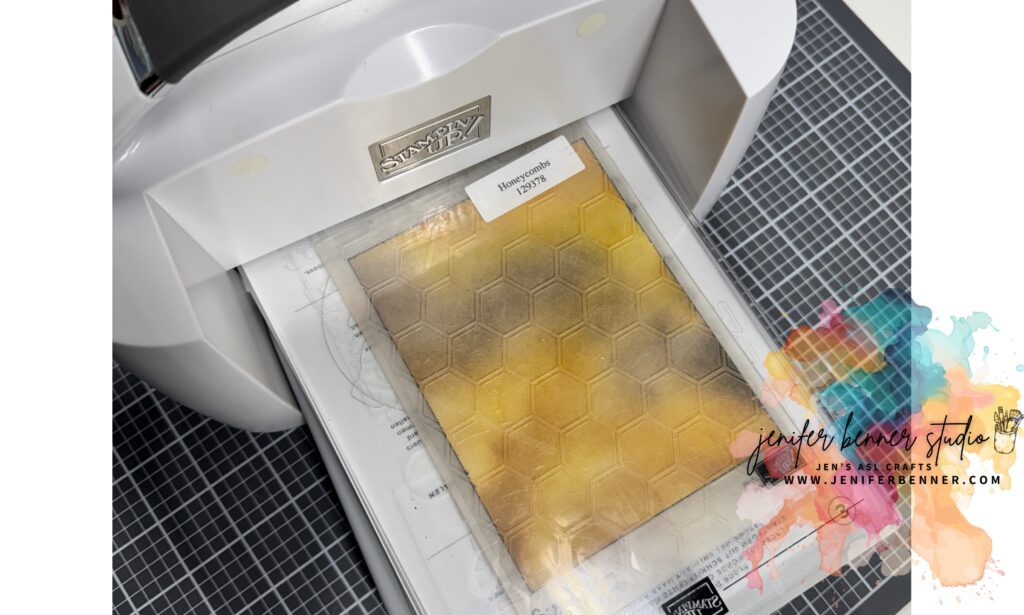
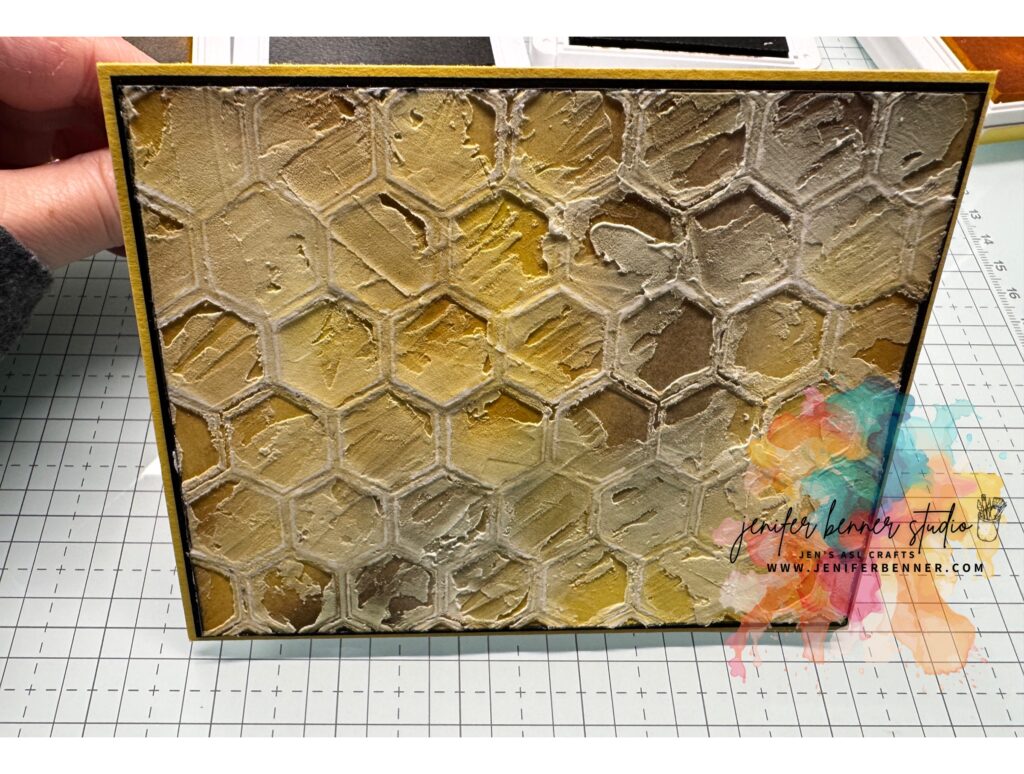
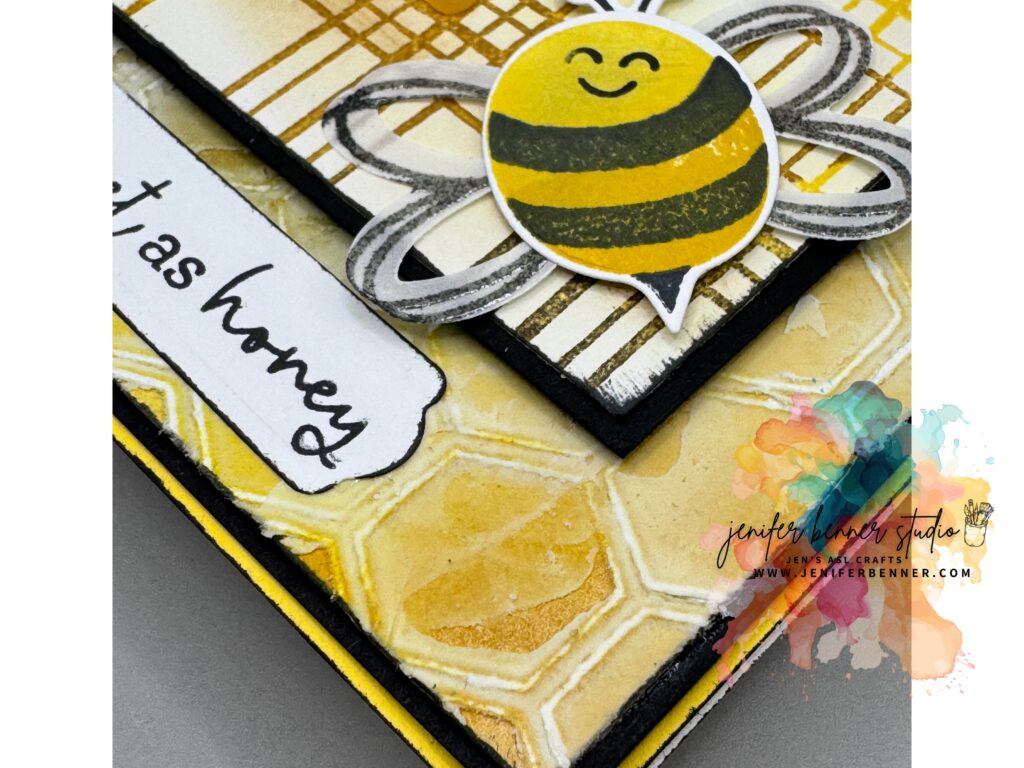
Texture Time: Emboss Mat #3 (Basic White) using the Honeycomb EF (or alternate EF).
Distress for Depth: Use sandpaper or foam block to gently reveal the white core on Mat #3.
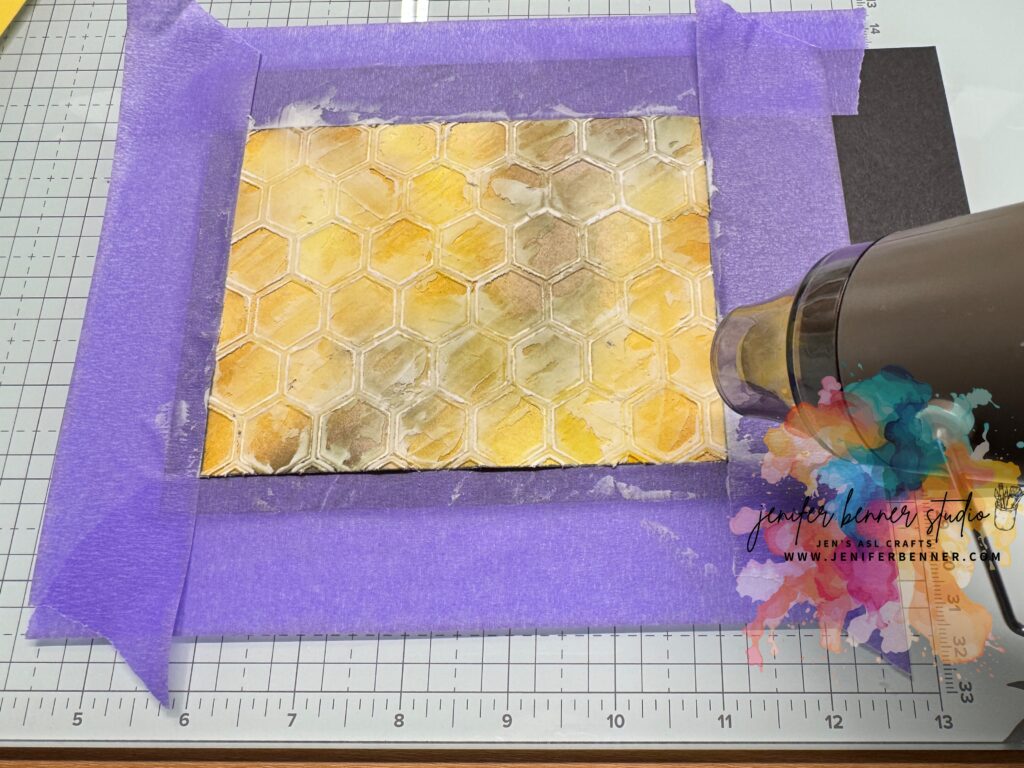
Add Texture Paste: Tape Mat #3 down and apply embossing paste with a palette knife—add thick and thin areas for visual interest. Dry completely with a craft heat gun.
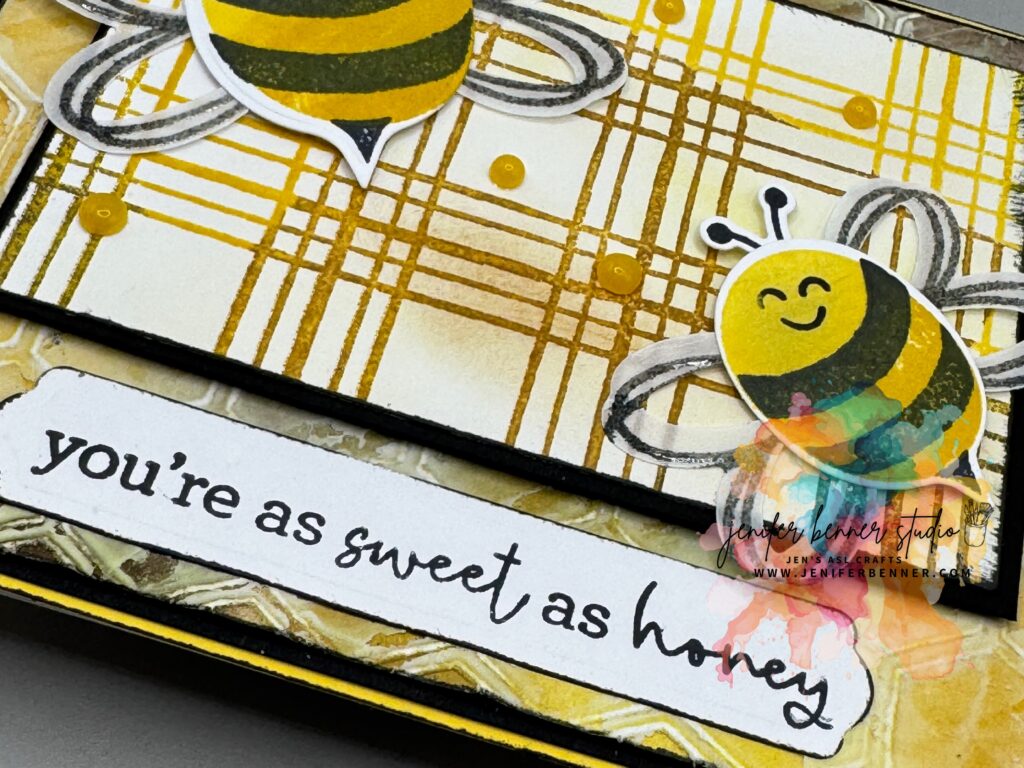
Layer it Up: Adhere Mat #3 to Mat #2 (Basic Black). Stamp Background: Use your background stamp and favorite ink on Mat #5.
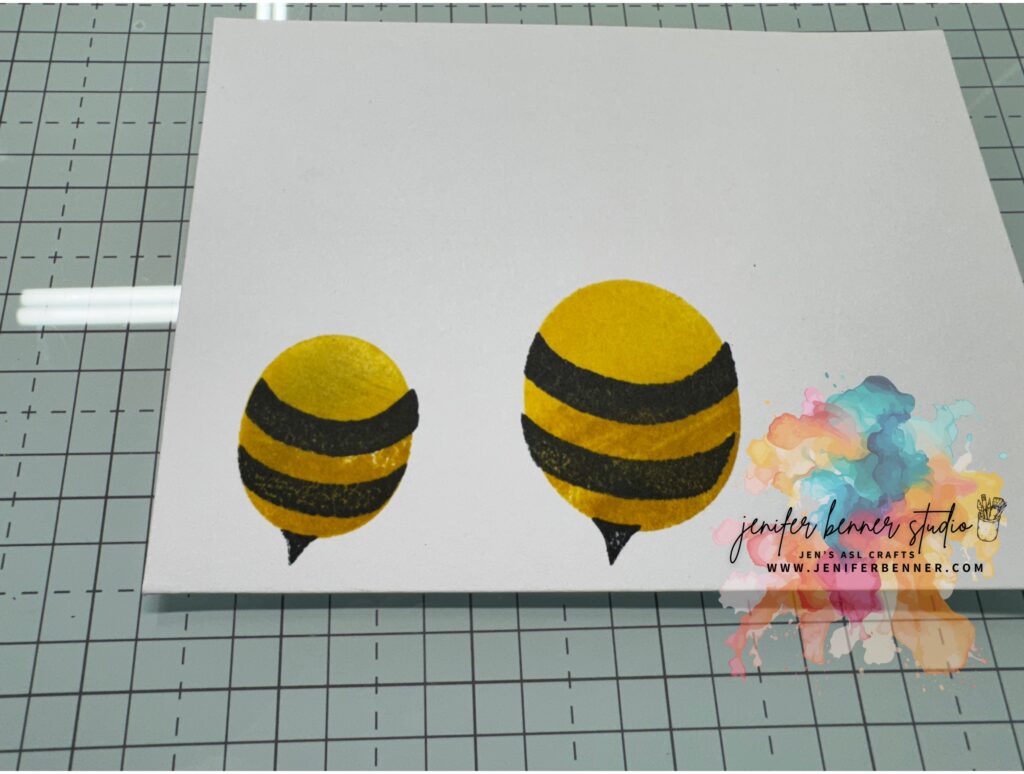
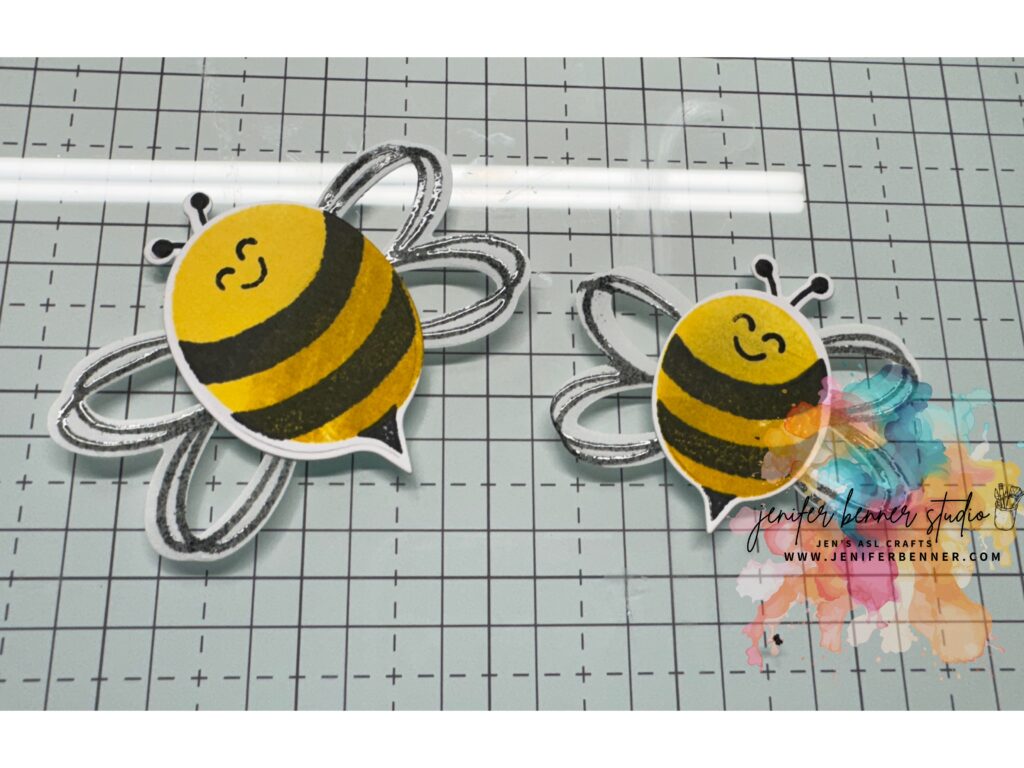
Blend Again: Mute the white of Mat #5 using soft ink blending. Mount Layers: Attach Mat #5 to Mat #4 (Basic Black). Pop It Up: Use Stampin’ Dimensionals and foam strips to pop Mat #4 up on top of the textured Mat #3. Bee Time! Stamp the bee body using Daffodil Delight & Crushed Curry. Use Tuxedo Black for stripes and the smiley face.
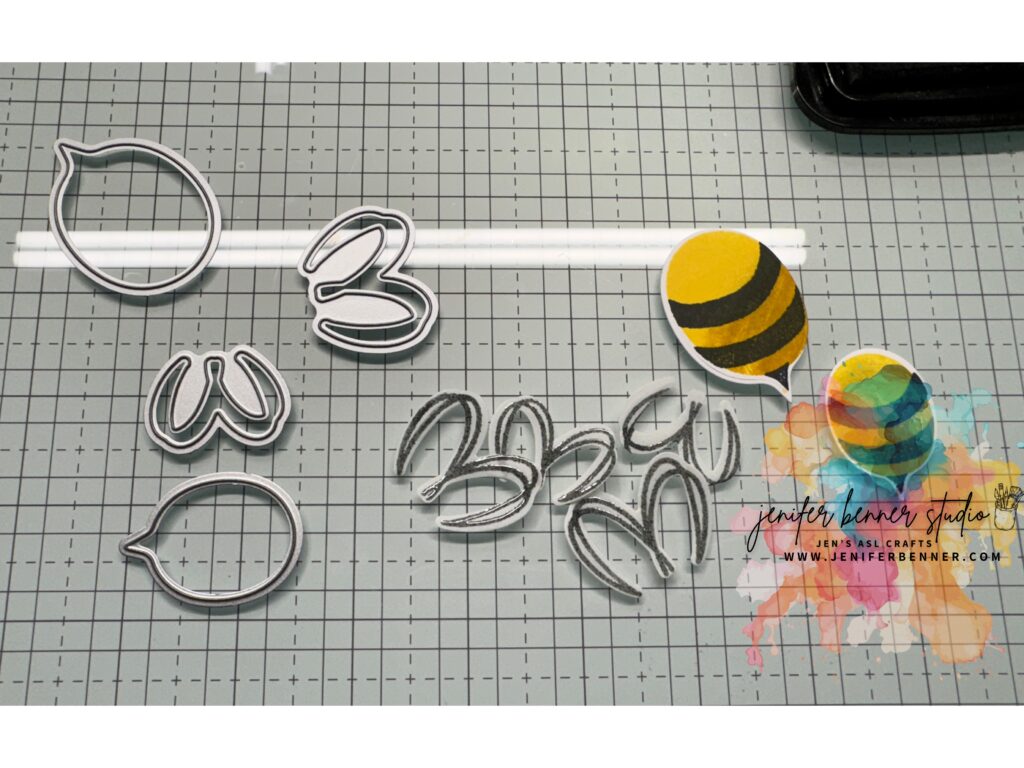
Wings: Stamp wings on vellum or scrap cardstock. Fussy cut if needed or use the die cut.
Assemble the Bee: Attach wings and head using green glue. Pop the body onto Mat #5 with Dimensionals.
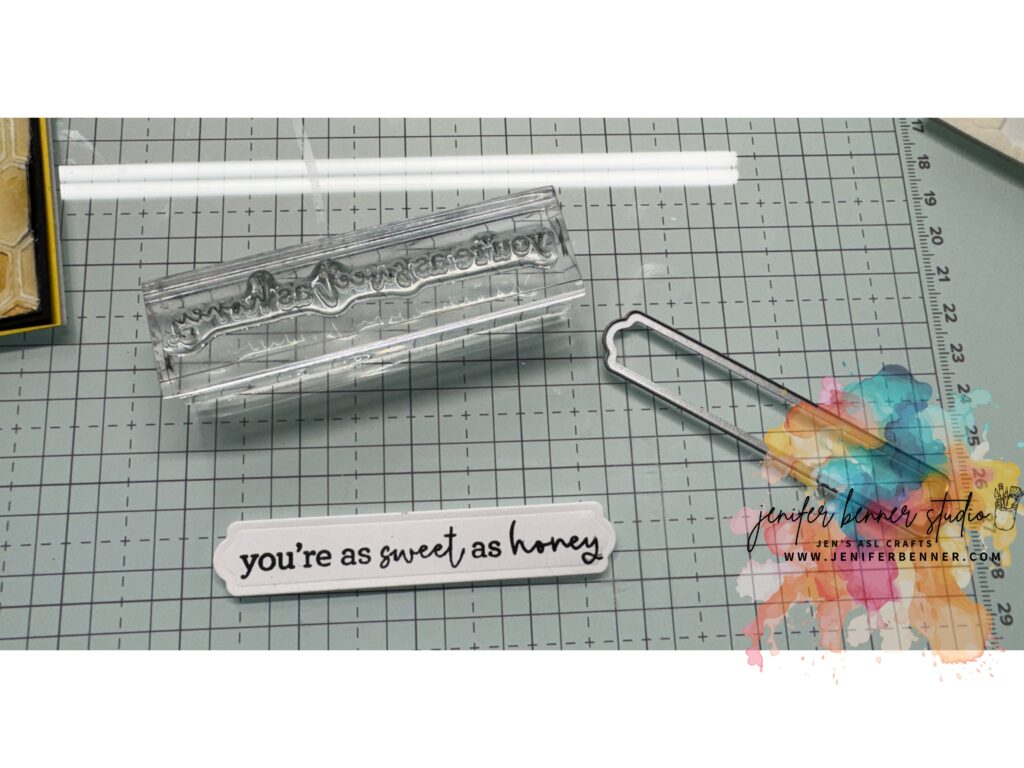
Sentiment Label: Stamp your sentiment in Tuxedo Black on your chosen label shape.
Final Touch: Adhere the label to the front of the textured background. Done!
Note: The Honeycomb Embossing Folder and Vellum are RETIRED. Swap with your favorite texture folder or medium! 🛒 Additional tools not provided by my main craft supplier can be found on my Amazon Storefront – be sure to check there! 📄 Want the PDF Instructions?Download your FREE tutorial sheet to follow along, print out, or save to your craft binder: 🟣 Download the PDF Tutorial Sheet You can find everything in the Tutorial Lab here—including supply list and step-by-step instructions.
💬 Let’s Craft Together!I’d love to see how you use this technique! Tag me on social: @jeniferbennerstudio Or leave a comment below if you tried it—I’d bee so happy to see your buzz-worthy creations! 🐝✨
Until next time… Keep crafting with your hands and your heart. 💖 —Jen
|


Jenifer Benner Studio | Jen's ASL Craft Studio
HELLO CRAFTY FRIENDS! As I write this, I’m on a road trip with my husband for his work trip—my first time tagging along! It’s been a whirlwind lately—April was filled with helping my mom and bonus mom unpack their new home, and diving into painting mode now. It’s been full speed ahead, but stepping into May has been… hard. We said goodbye to our beloved Dozer. At 9½ years old, he was more than a pet—he was my shadow in the craft room, always napping nearby while I created. The room feels...
Hello, friend! Whew—this week totally got away from me, and I didn’t get a chance to send out blog notifications like I usually do. 😅 But good news: there are THREE new posts waiting for you—and one includes a really special announcement I think you’re going to love. ✂️ What’s New on the Blog: Make It Monday: Scrapbooking Best Friends – [link] Technique Tuesday: Watercolor Lifting – [link] Ink, Stamp & Repeat: Week 3 | Meant to Bee - [link] 🎉 And Here’s the Big News… I launched a brand-new...
Hello Reader, Wow—March was a whirlwind! I spent half the month in sunny Florida helping my sweet mama and bonus mom pack up and move back to our home state, Illinois, after 40 years of Florida life. It was a big change for them (and for me!), but I’m happy to say they're settling in beautifully. Having her nearby again just feels right 💖 Now that life is starting to settle down again, I’m back and so ready to dive into all things crafty—and there’s a lot to share this month! 📦 3 New Kits...